Closet Renovation – Part One
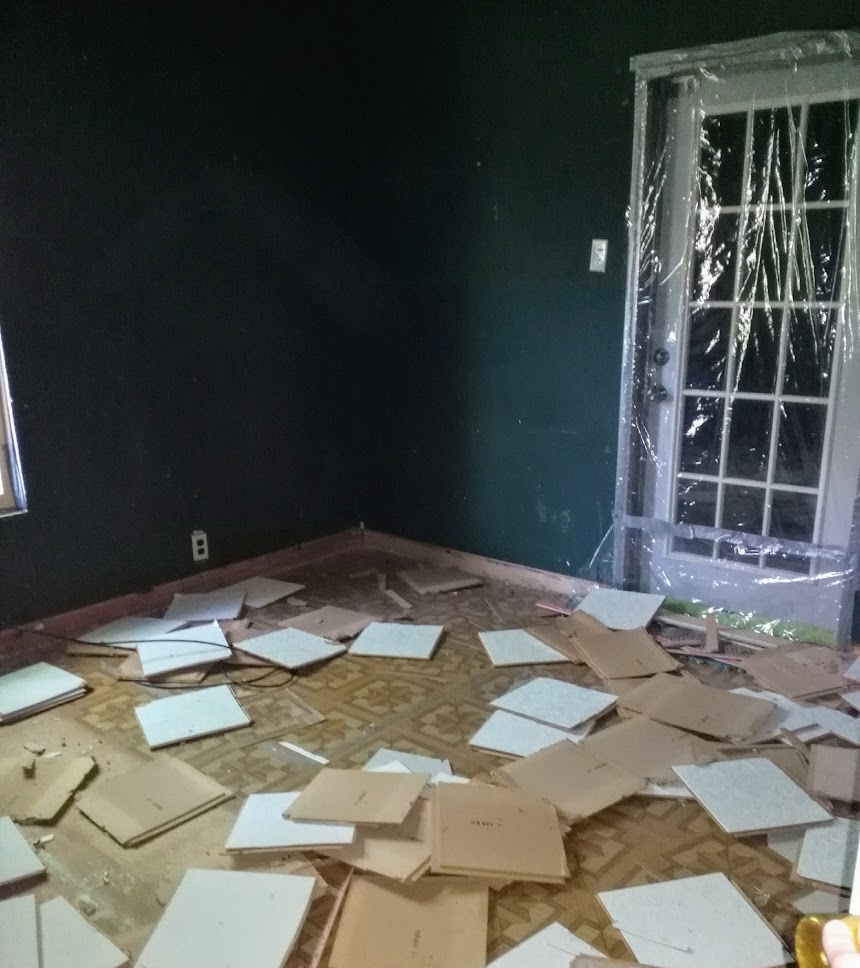
This closet renovation is at our house in town, and has been a long time coming. We bought this house in 2016, and didn’t even know this closet existed. It had been hidden behind a dresser and some curtains, and we assumed it was a window when we first walked through the home.
And Let me tell you this closet was hidden for good reason. There was a leak in the roof, and the room was in bad shape. So like any reasonable first time home buyer, we spray foamed the door shut, and tried to forget it existed.

Don’t worry, the closet was technically an add on to the original house, and was closed off with an exterior door. The leaky roof was one of our first big projects after buying the house. The back addition has been completely gutted since 2016, and has just been waiting patiently for me to get my hands on it.
Fast forward to 2020. Our house in town is a 1930’s home, sadly lacking in closet space. I have been begrudgingly rotating my summer and winter clothes, and utilizing various closet racks for years. While this not the worst thing in the world, I am ready to have a space for all my clothes. Plus I can finally justify starting the closet renovation since we have completed enough “higher priority” projects.
Starting the Closet Renovation
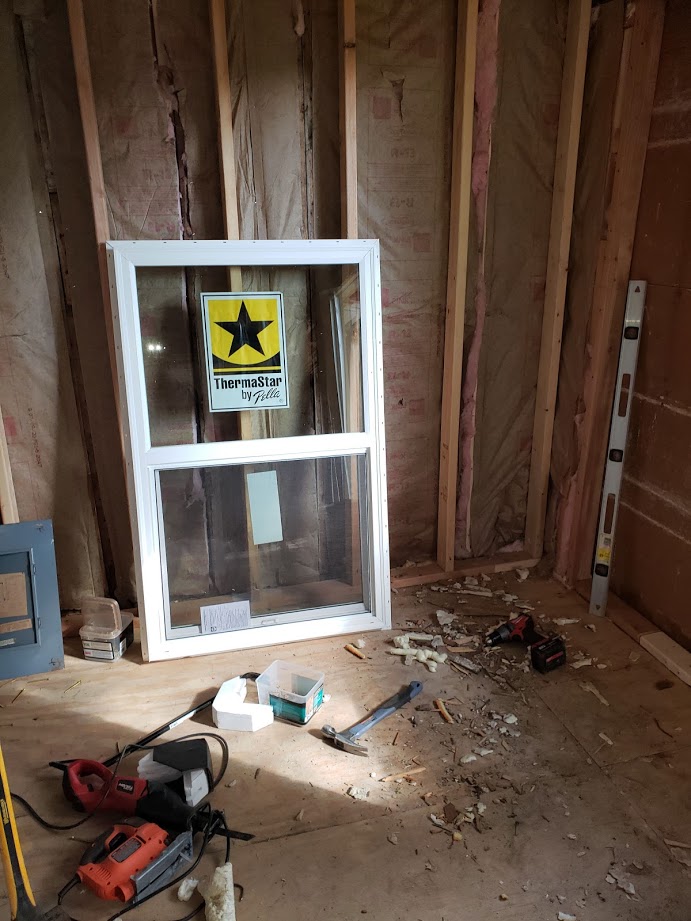
First of all, when planning the layout of the closet, the original room had a window. I planned on removing this window. However, my house is also lacking in natural lighting, and I did not have an ideal space to keep my plants in the winter. So opted to keep the window, and I do not regret my decision.

The back addition of our home was originally two rooms, but when we gutted everything in 2016 we tore down the wall that separated them so we had a big open space to work with. This meant I had some wiggle room in deciding how large I wanted my closet. We went with roughly an 8 by 9 foot space, and framed up a wall to separate it from what will be our future laundry room.


Time for the Fun to Begin
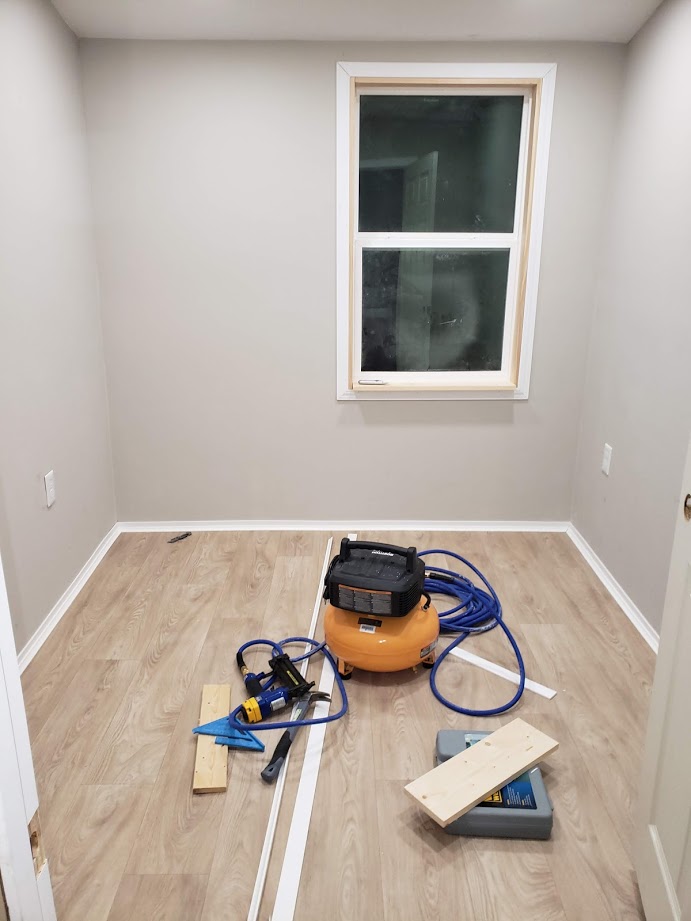
Now for the fun part, drywall and sanding. I absolutely hate this part, but I am mostly useless for a lot of the process leading up to this point. So I try to be as helpful as possible when I can. The whole time I am sanding I keep myself motivated by daydreaming about the real reason I put us through all the home projects…the decorating.
The only decor I had set in my mind for the closet was my plants. After much pinning, I knew I wanted to go with a neutral paint color that could easily match any decor. If you love a neutral aesthetic with lots of green plants, check out my Pinterest Closet Board for inspiration.


If you are wondering why the floor is partially painted white in the picture on the right above. Well, you see we had company coming for the weekend, and I always time things so well. I decided since we weren’t ready for flooring, I would lay down an area rug and paint around the rest.
These kind of tricks are normal in my house. We always have projects overlapping, or ones that don’t ever get quite finished, and I’m okay with that. Sometimes you just got to put lipstick on that pig and keep on going. I will say, I never get bored because I always have some final touch to keep my weekends busy.
Final Touches

Speaking of final touches, my closet is decorated and pretty well completely done. But the trim around that window is still not painted. Do I care, yes, a little, but not enough to take everything down and paint again. You will have to wait until the final closet reveal to see if I break down and paint trim, or leave it as an indefinite final touch. Until then, it’s my little secret.
https://www.pinterest.com/thefouracrefarm2019/
Maple Brown Sugar Glazed Carrots

Thanksgiving Decor
You May Also Like

Easy Guacamole Recipe
July 16, 2023
Homemade Strawberry Popsicles
June 23, 2021
